
When I first moved to the Midwest eight years ago, I decided to impress my then-boyfriend’s family with a home-cooked holiday dinner, complete with a turkey and all of the trimmings. While I considered myself to be a relatively adept cook, this seemed like a serious challenge and something that I should probably train for. Yes, I said train.
Armed with Google, Epicurious.com and a stack of cookbooks, I researched and tested and prototyped and came up with The Perfect Turkey Recipe.
After spending hours in the kitchen, I’m usually not as enthusiastic about what I’ve made as my guests are, but this time I was. The turkey was incredibly juicy, flavorful and so tender that it practically fell off the bone.The secret? It’s all about the brine. Brining a turkey (or any poultry really – I’ve done it with chicken too and it was fantastic) is essentially submerging the bird in a saltwater mixture overnight. Sometimes fresh herbs and spices are added. Sometimes sugar or other sweeteners. If you’re feeling lazy, you can even buy brine mixes from retailers like Williams & Sonoma.
My brine recipe is really simple – salt and water. And that’s it. The night before you plan to cook the bird, take a large pot or bucket and line it with two garbage bags or use a brining bag. Fill up the container/bag with four quarts of water (or more) and 1 cup of kosher salt and stir well to dissolve the salt. Submerge the (already defrosted) turkey in the mixture and let it chill overnight. True story: it was once cold enough outside that I let the turkey brine away outside because there wasn’t room in the fridge.
On Thanksgiving day, preheat the oven to 425 degrees and remove the turkey from the pot/bucket and give it a thorough rinse. Pat dry and rub the turkey inside and out with salt and pepper. The next part is key – starting at the cavity, slide your hand between the skin and the breast to loosen the skin without tearing it. Do this on both sides and (don’t laugh) massage each breast with a tablespoon of butter. And by butter, I mean butter. The real deal. No margarine.
Next up, it’s time to add various aromatic herbs and vegetables to the cavity to help flavor the meat (and the drippings which you’ll want to use to make gravy). I usually add a whole yellow onion that I’ve stuck with a few whole cloves, and a bouquet garni (basically a bunch of fresh herbs tied together with kitchen string) consisting of thyme, sage, parsley, bay leaf and, really, whatever else you might have on hand (tip: some grocery stores sell a “poultry” blend of fresh herbs in the produce section – this has everything you’ll need all in one handy package). You could also add carrots, celery, or sliced apples. You really can’t go wrong. Tie the turkey’s legs together using kitchen string to keep all of the goodies inside the cavity.
Now place the turkey in the roasting pan breast down. The juices all run into the breast (thank you, gravity) as the turkey cooks and turn what is usually the driest part of the turkey into tender, delicious turkey bliss. Between the brining and cooking breast down, you will make turkey magic. I promise.
Baste the turkey with two tablespoons of melted butter and roast at 425 degrees for 30 minutes. After 30 minutes has passed, baste with more butter (or pan drippings) and turn the oven down to 350 degrees. Continue to roast the turkey, basting every 30 minutes, until the thigh registers 165 degrees. Depending on the size of the turkey, this will take about 3-4 hours.
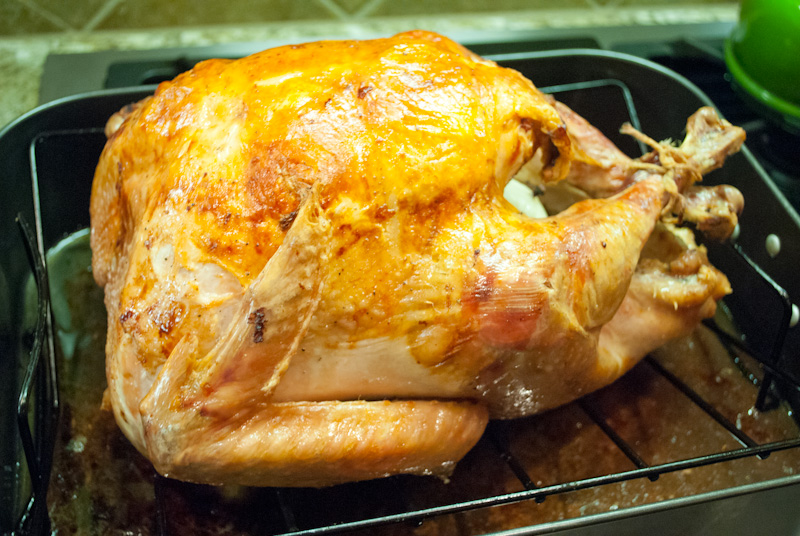
When it’s done, tent the turkey with aluminum foil and let it rest for at least one hour minutes before serving. The turkey, giant beast that it is, will continue to cook during that time.
My husband and I no longer eat meat – including poultry – (we’re pescatarians, which I know sounds so incredibly high maintenance), but I still cook this for our families and it’s always, always a hit.